Blog

DIY Appliance Maintenance: Tips for Efficient Home Running

As homeowners, we all want our appliances to work efficiently and last for as long as possible. However, most of us don’t realize that proper maintenance is key to achieving this goal.  

DIY appliance maintenance is a cost-effective way to ensure that your appliances are running smoothly and efficiently, while also extending their lifespan. When we neglect appliance maintenance, we risk encountering various problems such as high energy bills, reduced efficiency, and costly repairs and replacements.  

For instance, clogged filters in HVAC systems can cause the system to work harder than necessary leading to higher energy bills. Dirty condenser coils in refrigerators can make it difficult for the fridge to perform at its best leading to spoiled food or even breakdowns that require pricey repairs.  

diy tips on appliance maintenance

Proper maintenance of household appliances not only helps reduce utility bills but also significantly extends the lifespan of your appliances by preventing or minimizing wear and tear. When you follow proper upkeep procedures such as cleaning, you remove dirt and debris which accumulate over time in different parts of your appliances causing them to malfunction.  

Moreover, replacing minor components such as air filters before they become completely clogged will prevent damage from happening on other parts which are forced to compensate for the reduced airflow. Overall, DIY appliance maintenance will keep your home running smoothly while also saving you money in the long run.  

Regular DIY appliance maintenance is crucial not only for reducing repair costs but also maximizing an appliance’s lifespan. The following sections will provide tips on how you can easily maintain some common household appliances including refrigerators; ovens/stoves; dishwashers; washing machines/dryers; and small appliances like coffee makers or blenders among others.  

How Proper Maintenance Can Save Money and Extend the Life of Appliances

Cleaning Techniques for Various Appliances

Regular cleaning is essential to ensure that appliances work efficiently and last longer. Some of the most common appliances that require cleaning include refrigerators, ovens, and stovetops. When it comes to refrigerators, one of the most important cleaning tasks is vacuuming the condenser coils at least twice a year.

Dirty coils can cause your refrigerator to work harder than necessary, increasing your energy bill and reducing its lifespan. Cleaning the interiors of an oven can be challenging, especially if you don’t have a self-cleaning model.

Curious about the proper usage of your oven’s self-clean option and the reasons to exercise caution? Our informative blog post on why not to use self-clean function provides essential insights. Learn the right way to use this feature and understand why it’s important to approach it with care.


However, there are several natural ways to clean your oven without harsh chemicals. One method involves making a paste using baking soda and water, applying it to the interior surfaces of the oven, letting it sit overnight, and then wiping it away with a damp cloth.

For stovetops with grates or burners that lift off easily (such as gas ranges), soaking them overnight in hot soapy water can help remove stubborn stains. Similarly, wiping down electric stove burners with vinegar and water solution can break down grease and grime buildup.

Checking and Replacing Filters

Filters are essential components in many household appliances such as HVAC systems (air filters) or refrigerators (water filters). A clogged or dirty air filter in an HVAC system can cause poor indoor air quality, reduce airflow efficiency which increases energy bills, or even damage expensive parts like compressors. 

Refrigerator water filters need replacing every six months on average since they become less effective over time due to mineral buildup or other impurities collecting inside them. You can check if your filter needs replacing by consulting your owner’s manual or checking for signs such as reduced water flow from the dispenser. 

When it comes to washing machines or dishwashers with lint traps – these should be cleaned after every use or once per month, depending on the model. You may also need to replace filters such as washing machine intake screens which prevent debris from clogging the water flow valve. 

Inspecting and Tightening Connections 

Inspecting electrical cords and gas lines for wear and tear should be done regularly, especially if you have pets that like to chew on cords or if your appliances are frequently moved around. Any frayed or damaged cords should be replaced immediately – this is also true for gas lines that show any signs of leaks or damage. Keeping connections tight is important too since loose connections can cause appliances to stop working altogether or run inefficiently. 

It’s a good idea to check all your appliance connections at least once a year, tightening any screws or bolts as needed. This can help prevent hazardous situations like electrical shorts which can cause fires.

Refrigerator Maintenance

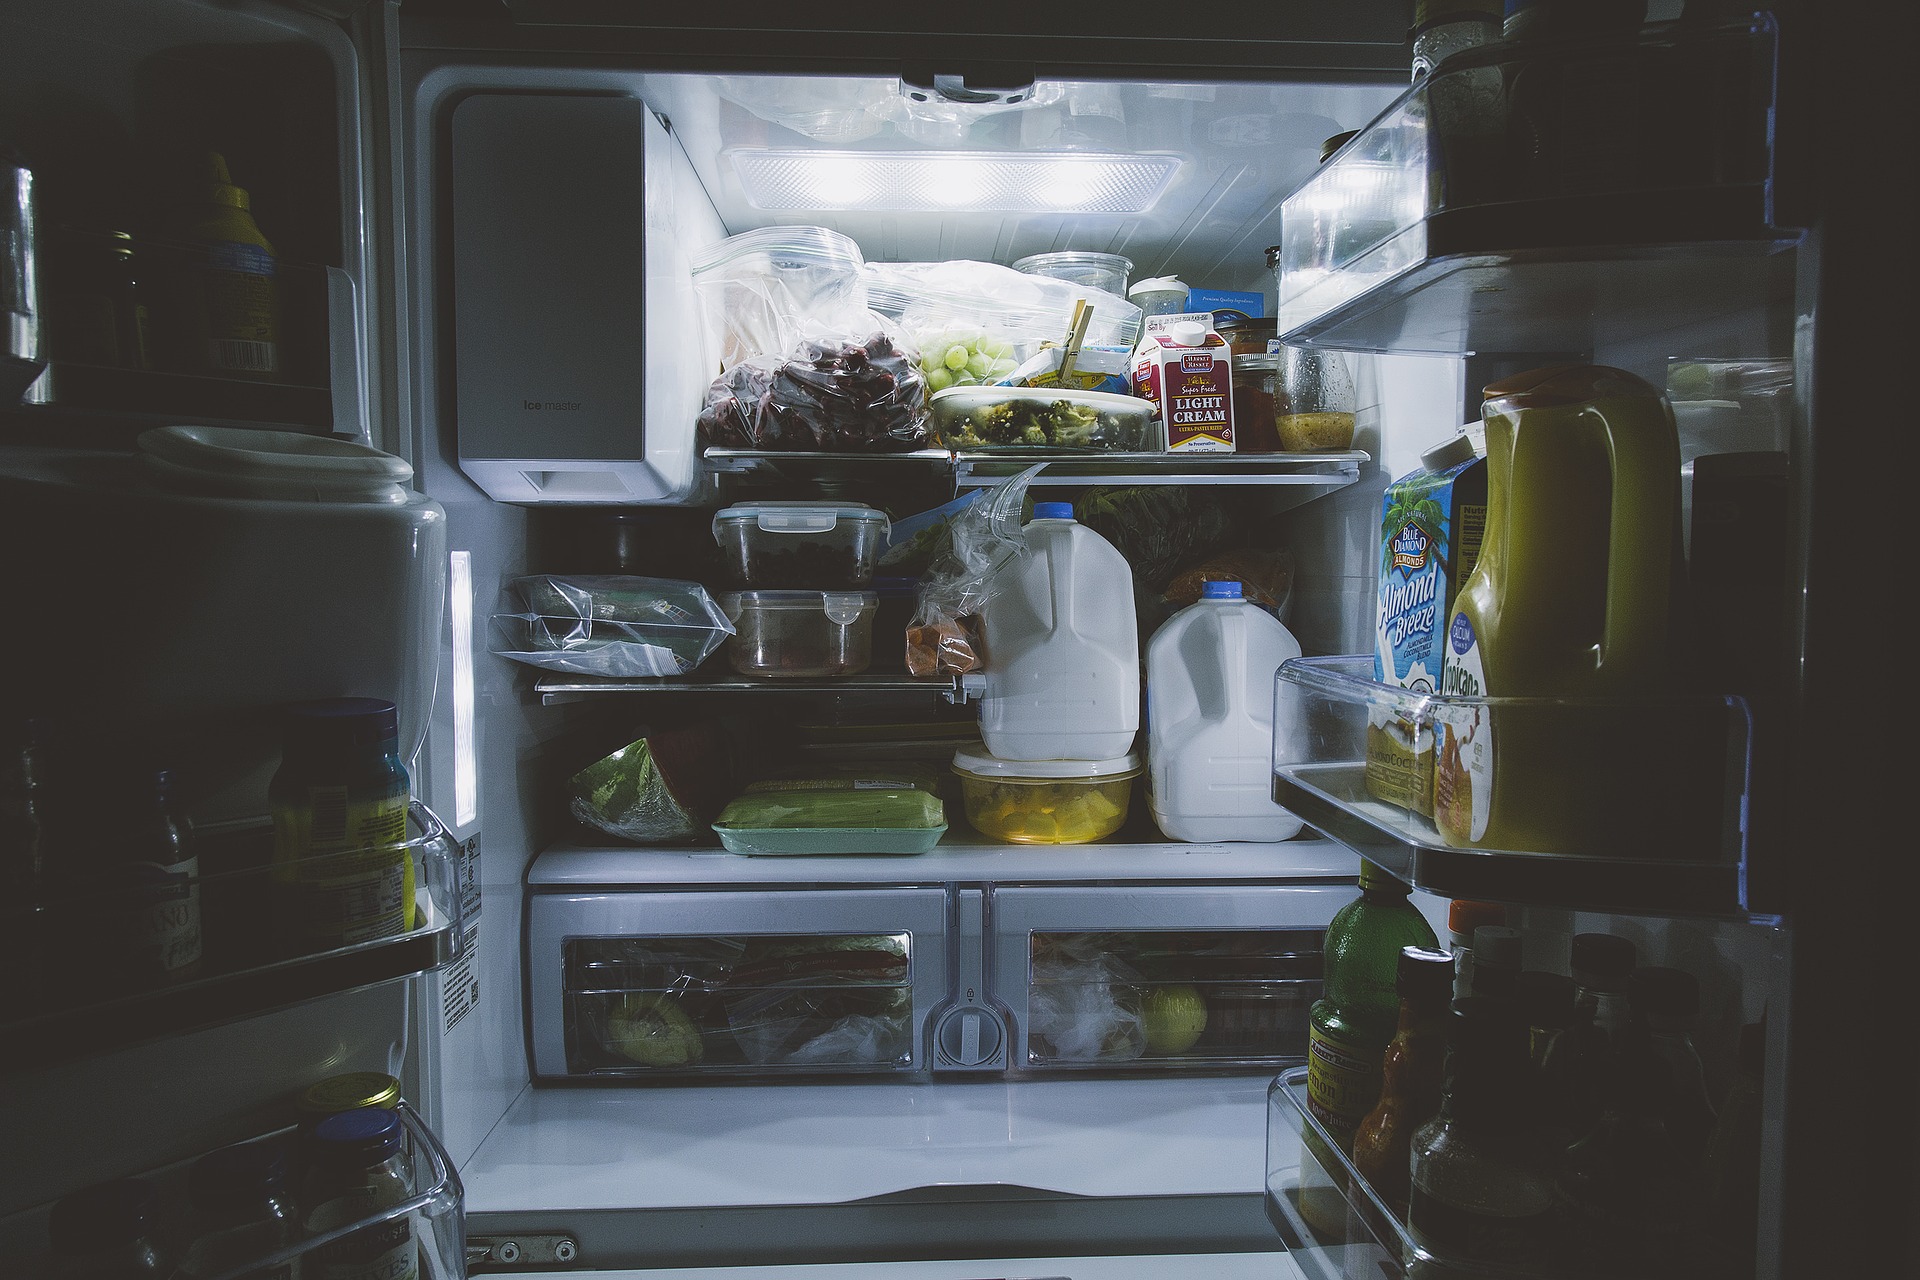
refrigerator repair

How to Defrost a Freezer Without Damaging It 

Defrosting the freezer is an essential part of refrigerator maintenance. A buildup of ice can reduce the efficiency of your refrigerator and make it work harder than it needs to, leading to higher energy bills. To defrost a freezer without causing damage, the first step is to unplug the appliance and empty its contents.  

Place towels or newspapers on the floor around the freezer to catch any melting ice. Next, use a plastic scraper or spatula to gently chip away at any large pieces of ice.  

Be careful not to use anything sharp that could puncture the walls or shelves inside the freezer. Once you’ve removed as much ice as possible, fill a bucket with warm water and dip a sponge or cloth into it.  

Wring out any excess water and wipe down all surfaces inside the freezer. To speed up defrosting, try placing bowls of hot water on each shelf and closing the door.  

The steam from the hot water will help melt any remaining ice faster. After all visible ice has melted away, dry off all surfaces with a clean towel before plugging in your appliance again.  

Tips for Keeping the Refrigerator Organized to Improve Efficiency 

Keeping your refrigerator organized can not only help improve efficiency but also prevent food waste by making it easier to find what you need when you need it. Here are some tips for keeping things tidy: – Use clear storage containers for leftovers so that you can easily see what’s inside  

– Keep frequently used items at eye level – Group similar items together (e.g., condiments in one tray)  

– Use drawer dividers for fruits and vegetables – Label shelves or bins with their contents  

By organizing your fridge this way, you’ll be able to quickly locate food items while minimizing time spent searching, thus reducing the amount of time the refrigerator door is open. This not only saves energy but also helps to maintain the freshness of food items.  

Checking and Cleaning Condenser Coils 

The condenser coils are responsible for removing heat from your refrigerator. Over time, they can become clogged with dust and debris, making it harder for them to do their job efficiently. To clean the coils, you’ll need to unplug your refrigerator and locate the coils (usually on the back or bottom of the appliance).  

Using a vacuum cleaner with a soft brush attachment or a coil brush, gently remove any visible dust or debris from the coils. Be careful not to damage any fragile parts in the process.  

You may also use compressed air to blow away any dust between coils. Regularly cleaning your condenser coils helps your refrigerator run more efficiently while reducing energy consumption and prolonging its lifespan.  

Oven/Stove Maintenance

Good for You, Good for Your Oven: Clean without Harsh Chemicals

Cleaning your oven regularly not only keeps it looking good but also prolongs its lifespan. It’s essential to clean the interior of your oven periodically to remove any built-up grease and grime that could cause smoke or even a fire.

However, harsh chemicals can damage the oven’s interior. So what are the best ways to clean without harsh chemicals?

One solution is using baking soda and vinegar. First, remove any loose debris from the interior of your oven with a damp cloth.

Then, make a paste from baking soda and water, apply it to the oven’s interior surfaces, and let it sit overnight. The following day, wipe away the paste with a damp cloth before spraying white vinegar on any remaining residue.

The chemical reaction will loosen dirt and grime. Another option is using dish soap mixed with water instead of harsh chemical cleaners; however, this method requires physical scrubbing and may take more time than using baking soda and vinegar.

Checking and Replacing Oven Light Bulbs

Oven light bulbs may seem like an insignificant part of your appliance; however, they are critical when cooking or checking food frequently on low heat settings because you won’t need to disrupt the cooking process by opening up the door all the time. A burnt-out bulb is also a sign that there might be an electrical issue within your appliance. To check if a bulb is still working correctly, carefully unscrew it from its socket while holding onto its base gently.

Visually inspect if there are broken filaments or discoloration on either end of the bulb; if so, replace it immediately. When replacing an oven light bulb, use one that has identical specifications as recommended in the owner’s manual to avoid electrical issues such as overheating.

Inspecting Burners for Damage or Clogs

Faulty burners can cause cooking to take longer than usual, uneven heating, and even the potential for fire hazards. Inspect your oven’s burners regularly for damages or clogs that could impede their effectiveness.

If you have a gas oven, check for cracks or damage to the burner’s metal tubing. A damaged tube may leak gas, leading to a dangerous buildup of natural gas in your home.

Clean any food debris from around the igniter electrode and burner using a toothbrush or compressed air. For electric ovens, look for signs of corrosion on the heating elements that could indicate a faulty circuit.

Also, clean any debris from around the element using a soft-bristled brush. Regular maintenance checks on your oven/stove will ensure its longevity and improve efficiency when cooking every day; it’s worth taking some time periodically to inspect all parts and address any issues before they turn into major problems.

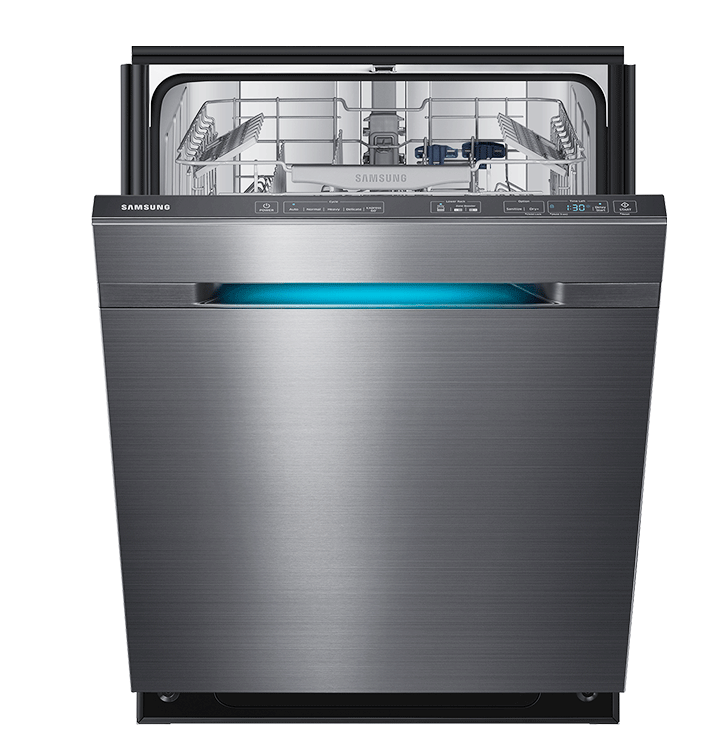
Samsung dishwasher

Dishwasher Maintenance

Cleaning dishwasher interiors and spray arms 

The interior of a dishwasher can easily accumulate food debris, grease, and soap scum over time, especially around the edges. This build-up can impact the performance of the dishwasher by clogging spray armholes or filters. It can also lead to unpleasant odors and unsanitary conditions.  

To prevent this build-up from occurring, it is important to clean the interior regularly. One easy way to clean the interior is by running a cycle with vinegar.  

Simply place a cup of white vinegar in a dishwasher-safe container on the top rack and run an empty cycle on hot water. The acid in vinegar helps break down any food residue and grease build-up, leaving your dishwasher smelling fresh and looking sparkling clean.  

In addition to using vinegar, you can also manually clean the interior by wiping it down with a damp cloth or sponge dipped in warm soapy water. Pay particular attention to areas around the door gasket as this area tends to accumulate dirty water.  

If you’re seeking guidance on maintaining your Samsung dishwasher, our detailed blog post How to maintain your Samsung Dishwasher offers expert tips and insights. Explore effective methods to ensure the optimal performance and longevity of your appliance

Washing Machine/Dryer Maintenance

Cleaning Lint Traps and Dryer Vents 

One of the most important maintenance tasks for your dryer is to regularly clean out the lint trap. Failing to do so can increase the risk of a house fire due to lint build-up in the vent. To clean out the lint trap, remove it from the dryer, then use a soft-bristled brush or your fingers to remove any visible lint.  

Rinse with warm water and allow it to air dry completely before replacing it back into your dryer. Additionally, vacuuming out any debris from inside the dryer as well as cleaning out any accumulated lint in ducts leading outside will help prevent fires and improve efficiency.  

Checking Hoses for Leaks or Damage  

Leaks in washing machine hoses can cause serious damage if left unaddressed. Check both incoming hot and cold water hoses for kinks, cracks, or bulges that may indicate potential leaks.  

If you notice any damage, replace them immediately with new hoses. Additionally, inspect drain hoses for signs of wear or leaks and replace them if necessary.  

Tips for Preventing Mold Growth in Washing Machines 

Mold growth inside washing machines is not only unsightly but also can cause health issues such as respiratory problems. One simple way to prevent mold growth is to leave the washing machine door open after each use so that moisture can evaporate rather than becoming trapped inside where it can promote mold growth.  

Another useful tip is adding half a cup of white vinegar during a hot cycle once per month or quarterly depending on usage habits which will kill mold spores and bacteria lingering inside your washer. By following these washing machine/dryer maintenance tips regularly you can save money on repairs and prolong their lifespan while helping keep your home safe and healthy!  

If you’re interested in delving deeper into the topic of mold in appliances, including washers, check out our blog post on Leading causes of mold in your home appliances. It provides comprehensive insights and valuable information on the leading causes of mold in your home appliances.

“Curious about the proper usage of your oven’s self-clean option and the reasons to exercise caution? Our informative blog post on why not to use self-clean function provides essential insights. Learn the right way to use this feature and understand why it’s important to approach it with care.”

Small Appliance Maintenance

The Importance of Cleaning Small Appliances 

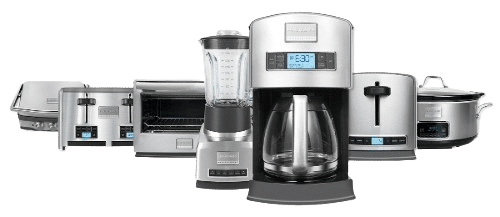
Small appliances such as toasters, blenders, and coffee makers are often overlooked when it comes to maintenance. However, neglecting these appliances can lead to a shorter lifespan and potentially even create safety hazards.  

For example, the buildup of crumbs in a toaster can lead to a fire hazard if not cleaned regularly. Therefore, it is important to incorporate small appliance maintenance into your regular cleaning routine.  


small appliances

Tips for Cleaning Small Appliances 

To clean a toaster, unplug it and turn it upside down over the sink or trash can. Shake out any loose crumbs and wipe down the exterior with a damp cloth. A toothbrush or paintbrush can be used to clean out any remaining crumbs from the slots.  

For blenders and food processors, disassemble and wash all removable parts in warm soapy water or in the dishwasher (if they are dishwasher safe). Clean the base of the appliance with a damp cloth and dry it thoroughly before reassembling it.  

Coffee makers should be descaled every 3-6 months with vinegar or another descaling solution to remove mineral buildup that can affect taste and performance. To clean the exterior of the coffee maker, wipe it down with a damp cloth.  

Professional Appliance Repair Services

If your home appliances are giving you trouble and you don’t feel confident or comfortable fixing them on your own, that’s okay. We have a team of professional technicians who can help you out. Contact us today to schedule a visit and find the best solutions for your appliance problems. Your satisfaction is our top priority!

Conclusion: A Recap of DIY Appliance Maintenance Tips

Maintaining your appliances through regular cleaning will not only extend their lifespan but also save you money on repairs or replacements in the long run. It’s important to remember that some tasks may require professional attention; always follow manufacturer guidelines for more advanced maintenance tasks such as inspecting electrical components or replacing parts. By incorporating these DIY appliance maintenance tips into your routine, you’ll not only benefit from better-performing appliances but also take pride in knowing that you’re taking proactive steps toward responsible homeownership. 

when you appliances fixed you home is not functional

If you have concerns about your appliance’s performance, contact the professionals at ARNI Services, Appliance Repair, for a thorough diagnosis and repair service. – you can’t put a price tag on peace of mind. 

We accept Interac, debit, cash, and all major credit cards as valid forms of payment

card payment for appliance repair
cash payment for appliance repair
interac payment for appliance repair